torsdag 26 mars 2015

A historical tea party


Previous sunday, I arranged a historical "fika" (eating cakes and drinking tea) at a coffe shop in Gamla Linköping (the "old town"). I wanted to make a very simple event, just to get a chance to wear historical clothing and meet people, in a part of the year when there are very few events. I did not have to make a very big effort: I just made a facebook event, invited the costumers I know here, and shared the event in suitable facebook groups. Then, I only had to call and reserv a table for us. And then, call back and ask for a bigger table, because more people that I had dared to hope was interested! In the end, we was 15 persons.

It was very nice just to chat, fika, and admire other peoples dress. We had costumes from 1800-1920's. I also invited everyone to tell something about their dress. It turned out to be most interesting, and also educational. It was nice to see that such a simple event could turn out so well.

And of course: pictures! Taken by Olof Tengstrand.

My father in inherited finery from 1920's, and me in the uniform inspired 1886 dress.

Bustle silouette and gentleman

I even managed to finish my new hat the day before the event!

People gathering before the fika.

Group photography, the smiling version :-)

And we got some advertisment for the nest event, a steampunk afternoon tea and movie. Can you tell that I was looking forward to it? 

Anachronism

Two big bustles in one picture

Beautiful 1920's

And some gentlemen of different size and time period


söndag 22 mars 2015

Making an 1880's tall hat

I needed a new hat for a 1886 military inispired dress (that I will post about later). For this I used the same pattern I used for the hat to my previous 1880's dress, the Truly Victorian TV550. This is only my second attempt at making an hat, it is made purely from things I had at home and to a short deadline, so this is a tutorial for making an hat in a not at all correct, but working, way :-)


The hat is made from stiffened buckram. Each piece is made up in buckram, and has wire attached at the edges to help it keep its shape. Millinery wire is a fabric wraped thread made for just this, but for this project I did not have time to order and wait for it, so I used what I had at home. Therefore, the brim is shaped with a heavy metall wire I found in my parents garden outhouse for like ten years ago. For the brim, I wanted something that would hold its shape very well, as I want to shape the brim. For the rest of the hat, I used a much ligher wire I once bougth for making fantasy jewelry. That is why it is blue and sligthly glittery...
Buckram brim and crown, stiffened with random stashed wire
Then, I attached the fashion fabric on the top. 

Outer fabric at top of crown.
 Then, I the brim and crown in fleece, as a middle layer between buckram and outer fabric. This layer is not in the pattern, but I found with the first hat that it was needed to prevent odd bumps in the puter fabric from wires, seams and buckram edges. Fleece is most probably not the "proper" material for this, but as it is soft and ligthweigth I figured it would do ok.
Cutting a middle layer of fleece (a cannibalized IKEA blanket...)

 The middle layer was then attached at the crown. Glue is definitely useful in hat-making (even thou it feels a bit like cheating...)
Fleece middle layer at crown
 Outer fabric pinned in place at crown. This will then be hand sewn in place.
The crown, with outer fabric at under side and fleece only at the upper side. The hole for the head is not cut until all fabric layers are sewn in place, to keep them from shifting.

 Outer fabric added at upper side of brim. Lots of pins needed to keep both layers in place at the curved edge.

 I then did all the hand sewing. Then, the hole in the brim was cut, and an bias band was attached to the edge of the hole. (I forgot to take pictures of this).This bias band is then used to sew the brim to the crown. in the first picture, the inside and the hat band can be seen. In the second picture, the stiches attaching brim and crown is visible. This was is an opportunity to use the not-my-best-but-quickest hand stiching, as this can be covered by an outside hat band. The brim and crown did not quite fit toghether, but I cannot say if that way the pattern, or due to sloppy cutting on my part.
Inside hat band
Finished hat before any decorating
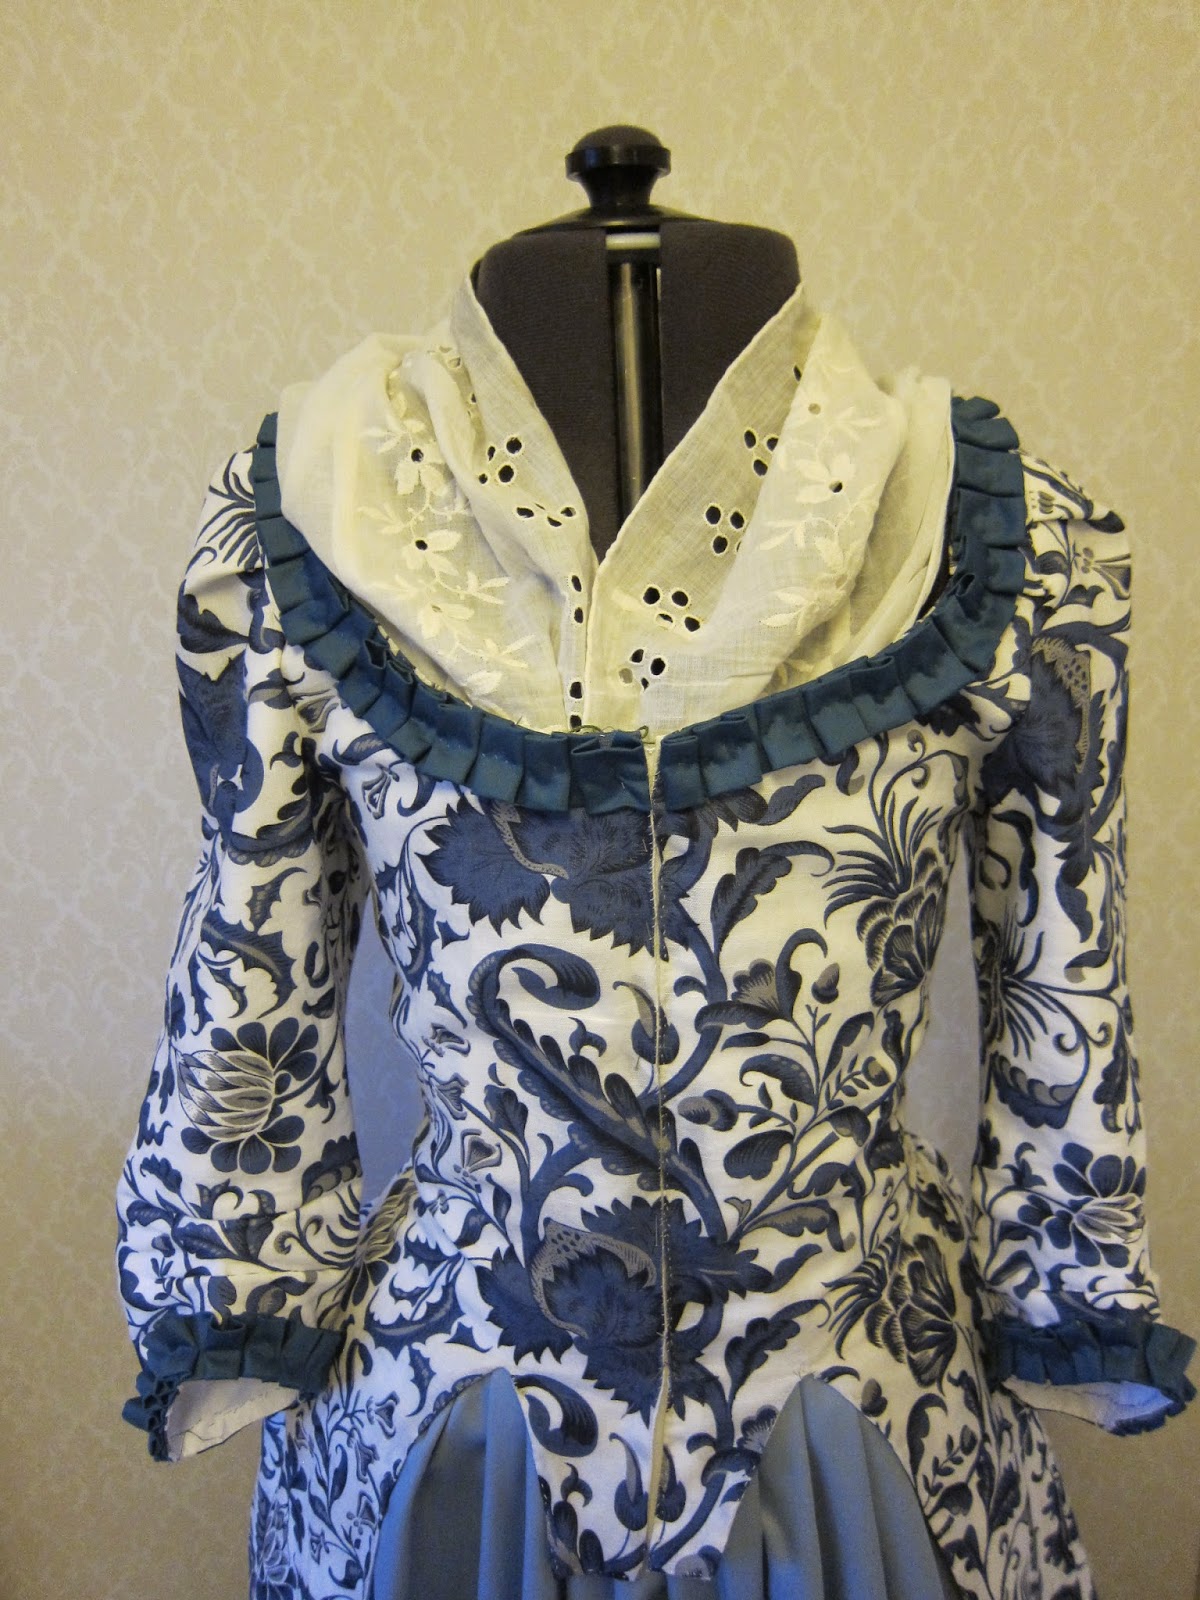
 The finished but undecorated hat does not look like much, but for this era, lots and lots of trim is esential. Flowers, birds, fruits, feathers, just  pile it on! And heigth is the key word.

Some inspiration: 


I ended up making my hat quite modest in the decoration, as it will be used with an uniform inspired gown. My finished hat:


The pleats on the band was to make a stiff band fit a cone shaped brim, but they ended up quite decorative I think.

I think it maybe took 5-8 h to make it, and that could have been a bit faster if I had realized the potential of glue in hatmaking earlier... In the end, I am very happy with my hat even if it was made a bit in a hurry. And it feels very rewarding to make an hat, as it really finishes an outfit.

How do you make your head gear? From scratch, buying and modifying, or some other way? Have you also felt how a dress suddely feels better when adding an hat, or have you learned a useful trick? Leave an comment and share!


torsdag 19 mars 2015

A fichu for the18th century dresses

The Historical Sew Monthly challenge have so far been a big motivator. Among other things, it made me decide that it would be a good idea to make the accesoares to my costumes. For example, I have two 18th century dresses, but no shawls, outerwear or headwear, which makes it a bit hard to use them, at least outside. I started this intention simple with a fichu as an entry for the stashbusting challenge.In the first picture, it is shown with the pattern test caraco I made last year.

The fichu worn with my blue caraco.

A close up, showing the piecing


The facts:
What the item is: an 18th century fichu

The Challenge: #3 Stashbusting

Fabric: It is made from a thin cotton with broderie anglaise (I think it is, anyway) and another piece of fabric that matched the embriodered one in very well. As there was stains on the embroidered fabric, I had to do some piecing even when it is such a small garment.

Stashed for?: Both fabrics were gifts. Actually, the emboiderad one I got at the same time as the fabric for the 1903 petticoat.

Pattern: none, just looking at some pinterest pictures.

Year: I guess it could work for second half of 18th century and maybe a bit later as well? I have not researched this apart from looking at some pictures so I don't know.

Notions: thread.

How historically accurate is it? I am not sure. It is hand sewn, with seams types that were used. Cotton could be used, as well as embroidery (but not machine sewn). I am just not sure if these thing could have been combined the way, and if it matches my caraco.

Hours to complete: 2-3 h: lots of hand sewing due to the piecing. And roll hemming is slow...

First worn: by my mother at a historical "fika" in Gamla Linköping last Sunday, with her regency dress.

Total cost: 0, as fabric was a gift.

tisdag 10 mars 2015

Steampunk 1886 uniform

My bustled steampunk version of the swedish  m/ä uniform


 Last year, I was going to a steampunk convent, and of course I wanted something new to wear. I have long been wanting a Swedish uniform called uniform m/ä (that means "model old"). This is because I made military service in 2006 in the Central Band of the Royal Swedish Army, and our parade uniform was the m/ä. We even got our uniforms fitted by a tailor, to look our best at parades. I felt very good looking in mine, and was not happy to turn it in as a left for the civilian world after eleven months of playing and parading (and polishing shoes).

Me to the right, and some of the drum section, in the uniform m/ä. With my somewhat large instrument and the tassels on it dangling around, on most pictures of me you can only se my legs behind the glockenspiel (or whatever is is called in english)...
However, while it is sometimes possible to find such uniforms, I had not even tried to get hold of one in my size afterwards. It seemed pointless to try to find a (male) uniform that would fit me, when I hardly can find even women’s pants that fit me. It also seemed a bit too daunting to make a copy of tailored uniform myself, so I had given up on getting one. But then I realized that the m/ä uniform is from 1886, which is to me about the best looking year in history. I also stumbled on this really nice work of making a Star Trek Victorian bustle dress. I then decided to make a female version of the m/ä. What could it have looked like in a world where they had had a women’s version of the uniform, following fashion? As the fashion was quite strict in 1886 and military inspiration was popular in women’s fashion, it seemed a good match. I had a thin dark blue wool in my stash, which was just enough for the skirt and jacket. For buttons, I found very nice buttons originally from a telegraphist's uniform, very steampunk looking and in the right shape. I tried to stay close to the details of the original uniform, while changing the shape. 

I had some problems with the jacket. I wanted it to be a bit more relaxed in the fitting, so I could wear it without a corset. I tried to achieve that by using my 1880’s TV bodice pattern, but letting out the side seams. Not until the bodice was finished, complete with piping of the front seam and button holes center front, did I realize that it does not work that way. It was too big over the bust, the collar was too wide, and somehow it was too long from collar to waist, so it sort of buckled. Afterwards, it feels quite obvious that making a tight fitting garment in a larger size is not a good idea! Of course is will hang oddly that way. Also, i have learned that wearing a bustle without a corset to even out the weight on the waist is not a good idea. I have since tried to fix it as much as possible, but it is hard to make it fit properly as the button holes are where they are, so the center front can  not be changed. I also think the fabric is too thin, even when interlined with cotton. 


Even with the fitting issues thou, I am very happy with it. I feel just as smart as I did in the original m/ä uniform. I also got quite a few compliments for it at the stempunk convent, and people recognized the inspiration. I even got a comment from someone that had been an officer, that it was not proper to wear a hat indoors with a uniform, and not to salute indoors either, so obviously it had enough uniform-look. (I knew about the hat and saluting, after the military service, but after all it was steam punk, and it is more fun to wear headgear. And how often does one get the chance to salute crisply when posing for a picture? :-) )

Here are some more pictures from a photo session in Gamla Linköping (that "just happended" to end up with us eating lots of waffles and drinking tea...).


And unaware in the historical costuming book part of a shop...


With the uniform, I wear a belt, white gloves, men's shoes, and a medallion (modern and my own, but it fits the costume decently). The gloves are the one my husband wore with the uniform when he was in the same band, so those are the truly authentic piece of the costume :-) The hat is a modified cap I bought. This is a picture of what it looked like from start, and after modification. I inserted buckram and millinery wire in it, and sewed on band and button.

The same sort of cap before and after modification


And finally, the Swedish and Preussian Army representatives at the steampunk convention (sorry for bad resolution).

söndag 1 mars 2015

1903 Petticoat

Me trying to pose with proper s-bend in the new petticioat
First, all the facts for Historical Sew Monthly.

What the item is: 1903 petticoat.

The Challenge: #3 Stashbusting: Make something using only fabric, patterns, trims & notions that you already have in stash.

Fabric: Vintage sheet with lace and embroidered monogram from my husband's grandmother for skirt and flounce. A softer modern sheet from my grandmother for the flounces. A woven design from what was left of a table cloth I made a blouse of ten years ago, used as decoration.

Pattern: Truly Victorian 1903 Trumpet Skirt (TVE21), with added flounce and ruffles, based on petticoat advertisement pictures. I first made up the skirt, and put a ruffle on the bottom of it. I then added a flounce that also has a ruffle on it.

Year: works  for 1900-1905

Notions: Polyester thread. Hook and eye.

How historically accurate is it? The arrangement with flounce and ruffles is period. I think cotton could have been used for an under petticoat as this, but wool or silk would maybe have been more common? Machine sewing is ok. I did not use period construction methods.

Hours to complete: ca 10 h.(It took quite long time to make all those ruffles, and put on the lace and band decoration. I asked myself quite a few times why I had decided to put a ruffle on a 4 m long flounce...)

First worn: for photo yesterday.

Total cost: 0, as all fabric was gifts or left over from other projects.

 First: I love my hemming presser foot! I works well for the thin fabrics I used for ruffles. Without it would have been quite tedious to hem 10 m of ruffle fabric. (For the second ruffle I cheated and the used selvage instead of hemming.)
Hemming ruffles


 And then: more pictures!

Petticoat before flounce and ruffles
The skirt without any ruffles or decoration except for the tucks. Up to this stage, it went quite fast. Then ruffles occured...

And the finished petticoat, worn over the corset and corset cover, and a bum/hip pad.

Finished petticoat


 The decoration: tucks, a band cut from what was left of an table cloth , and lace (or what it is called) insert. The petticoat seems to give volume quite well! Remains to see how effective it is when a skirt is worn on top of it.


The flounce with its ruffle, and the ruffle on the skirt under.

It is not so visible in the picture, but the flounce has my husband's grandmother's embroidered monogram on it.


I surprised myself a bit when I decided to put some extra effort into this petticoat, to make it look nice, not just give the proper shape. Normally I just make the under layers simple and functional, to get on with the layers to be seen. But now, I had some inspiration from fellow costumers, that really inspired me to do something extra with this. It was fun! But now I am wondering if I might perhaps be able to use this as a summer walking skirt, if I make a matching blouse and a belt. What do you think? Would it look too much like underwear?