torsdag 12 oktober 2017

Sewing plans (slightly on hold)

I would like more nerdy but useful everyday clothing like this star trek jacket I made earlier. Please ignore slightly overdone attempt at smiling for the camera.

As I mentioned in my previous post, I have not been doing any sewing lately, nor have I been thinking about sewing. My main sewing plan when I get my sewing room unpacked is to make some modern blouses that I need. I would like to make at least one of the more romantic kind, a white blouse with high neck and lace insets. Hopefully this will be useful for both everyday wear, paired with jeans, and steampunk when pared with a skirt and lots of accessories. I would also like to at least one inspired by futuristic wear from sci-fi. Marked shoulders, angled and piped seams, perhaps an overlapping front. And high neck :-) And perhaps one more nerdy jacket as well - the star trek jacket has become quite a favorite of mine. Let's just see if all this modern and useful is going to happen - I vaguely recall saying "I should do some modern sewing" every now and then for the last ten years...


"Some" unpacking left to do before I get to sew...
Sewing machine - I know you are hiding in there!


And yes - another reason to look forward to the unpacking of my sewing room is the fact that I bought a new sewing machine a month ago! I finally decided to replace my 40 year old Husquarna 2000. I know they are considered very reliable and tough, and I have been telling myself that I don't need any of the functions that a modern machine could give me, but when it needed professional repair for the second time in a year I decided that automatic button holes, up/down needle stop, built-in thread cutter and better light actually would be very nice. I did not go too far however - my new Janome DC4030 is indeed new, but of a model that have been produced for a number years. And it is electronic, but not very computerized - I want buttons on my sewing machine, not a touch screen, WiFi and the potential for software malfunctions! Maybe I am a bit conservative for my age in that regard? I have only tried it very briefly before I put it back in its box for the move, but I really liked what I saw (and felt and heard - quite smooth and definitely less noisy). So now I only have to fix the floor, walls and roof in the room, before I can start finding all the fabric I used to cushion frail things with when packing... Somehow I get the feeling it might be a while until I have to think about modern vs historical sewing! 


torsdag 5 oktober 2017

Sewing on a train

Since SilwerSteam a month ago, I have not had time to even think about sewing. I have been busy getting a house, preparing for our move to another town, and have also changed to a new job (which is great this far). Also new for me is that I will be commuting 40 min in each direction by train. That is considerably longer than the 7 min bike ride I was used to. The positive thing is that I think I will enjoy hand sewing things on the train ride, and if that proves to be true, I will get quite a lot of time for sewing each week. I just have to unpack my sewing room and come up with some project that is suitable. So far, "suitable" means 


Safety!
-Not too likely to make me stab person on the next seat

[picture me sewing, very concentrated, waving wildly with the needle, unaware that the person next to me desperatly try to lean as far away as possible]


Practicality!
 -Not requiring me to get indecent trying on a toile (On second thought - no trying on at all!)
 -Not too many pieces that can be dropped on floor or lost 

[picture me, hair in disorder, triumphantly crawling out from under someone else's seat holding a tiny but crucial piece of fabric ]


Brain-dead-ness (yes that is a word - I just used it!) 
 -not needing too much thought (sewing after work means sewing with tired brain!

[picture me as a zombie - hair in even more disorder, pale and staring, mumbling and moaning, and contently embroidering brains on a tea warmer ]


Currently, I don't have much on my want to do list, and nothing that fills these criteria. I guess knitting would be a classic on the train, so maybe I should try that. As long as I stick to very simple projects - I would prefer to not end up shouting "shut up, I'm counting!!" to the loudspeaker on the train announcing that the next station is the one where I live.

Also, I realize that nalbinding (?, nålbindning in Swedish) should be even more perfect on the train than knitting. Only a single short and blunt needle. I think I would need to actually poke someone in the eye with in order to do any harm, so the safety criteria should be well passed. Also, just one strand of yarn, and it can not even unravel, as in knitting. Alas I have no desire whatsoever to make warm and sturdy naahbound mittens. I guess that would be too useful... 

As I write this, on a boringly delayed train, I realize that blogging is also suitable. Maybe you should expect more posts and more words but considerably less actual content per post in the future?


fredag 8 september 2017

SilwerSteam - Nordic Steampunk Faire 2017

Last weekend, I was to SilwerSteam - Nordic Steampunk Faire 2017, and had a really great time! Wonderful location, nice people, fabulous costumes, and lots of interesting and enjoyable things to do.


I had offered to hold some kind of "get to know people" event, and that was one of the first things that happened on Friday evening. At 18:00 when it was supposed to start, there was just me, a friend and one other participant. Soon however I had "caught" about 10-15 people - by having the mingle outside the main entry and asking everyone arriving if they wanted to join us! Being a bit nervous (this was the first time I did this kind of thing), I don't remember so much of what I talked to people about, but I hope people had a good time!


After that, I think I just walked around, mostly looking costumes and the venue. In the evening, we had a steam pub all to ourselves. 
My costume for Friday was the Ghost Detection box, or more formally, the work-wear of an ectoplasmic residue detector workperson. I had made a broader tie and a softer hairdo than last time, which I think worked better with the overall look.


Saturday morning started off with a a wind orchestra playing outside of the venue. For me, who loves marches, it was quite emotional to hear two of my favourite marches being played! Great start of the day.

Then, I joined Director Munktell for a guided tour of the museum showing some of his inventions.
Later, there was people to talk to, and photos to take, and being photographed. I also went to a lecture on using LED in costumes, which turned out to be a lecture on programming the Arduino microcontroller to make it control a programmable LED strip. In that way, you can get lights that blinks and shifts color however you want. For me, it was very inspiring and seemed straightforward to do if you have some kind of experience in programming.

Then, on to the costume contest. I don't have any pictures of it as I was a part of it, but it was very fun to take part and to see all the marvellous costumes. And well arranged - we go to walk a round in the old engine hall, while the speaker told the audience about our costumes. There even was smoke when each of us was announced and entered stage - made me feel like a star!

My costume for Saturday day was the newly re-made forrest/mechanical dress. Here with Aurora in the engine hall, with all steam engines running and smoke coming up just in time for out photo.
 And more pictures:


A uniform and a backpack!


Karin the mechanic


I think this is Alistair in Wonderland.

In the evening, I managed to eat too little and get a bit low, but I got get a "uniform picture" with  Henrik (Pilerud Cosplay) and Martyn. I definitly wouldn't mind seeing more steampunks wearing uniforms, and I think another uniform might be my next steampunk sewing project.

Did not take many pictures on Saturday evening, but it was nice to meet Lykke and Marianne again that I first met last year in Gothenburg. Also - that riding habit!
 On Sunday, my parents joined me.
Proud daughter with parents newly introduced to steampunk.

And the chemist even found a lab!

There was live music, so in a few minutes, I will be waltzing with Y. In steampunk costume, in the engine hall, to live music - not something I get a chance to do everyday.
The Sunday ended with the finals of the tea duelling, and the announcement of the winners of the teapot racing and the costume contest. I am most honoured to be one of the costume contest winners, in the company of such talented costumers.
My mother made it to the Tea duelling semi final (wearing the newly purchased hat - of course a steampunk need a proper hat!) ...

..and final! After a thrilling contest, the victory went to the Norwegian gentleman.
But then, everything has to end. Luckily for me, there was other steampunk enthusiasts heading the same way as I, so I got company on the train, making the fun ended less abruptly. And on the way, we had time to talk both steampunk, space based navigation (as in GPS signals) and the perils of inventing too good Artificial Intelligence. A worthy end of a marvelous weekend!

Do you have a blog post about silwersteam, or a picture collection that is not found via facebook? Please comment and give us a link!

torsdag 24 augusti 2017

"Pro tip": Remaking and adding to costumes

Some days ago, the prompt for CostumeBlogWritingMonth was "Pro tip". I definitly am not a pro in costuming, but if I was to share a tip, the first half of it would be to not be afraid to change or add to your existing costumes. That ties in closely with the second half, "if possible, wear a new costume to a smaller event before The Big Event". My idea is that having a smaller occation to wear a new costume forces you to finish it well ahead of the big one. Also, you get a chance to wear and try the new costume in a setting that is more relaxed, and have time to change those things you did not like, in order to look the best at The Big Event. Details that looked good in the sewing room can feel like they look a bit odd on photos, or maybe you just realize you would prefer a different look. 
 
Here, I do not talk about fixing a dress that turned out wrong, when the fabric was wrong or the fit way off - in those cases I prefer to just go on to new projects that I feel more entusiastic about. Here I talk about the cases where you feel like the dress is just ok or feel like "meh, good I guess", but you feel that it could become great if it looked a bit different. You like it, just not as much as you could do. In those later cases, I think it is well worth the effort of redoing the thing you are not happy with, or remodelling an older dress.
 
The first picture is of my first 1880's dress. Over time, it became too small, and I found it a bit on the boring side, being so plain. THerefor I added lots more decoration to the hat, and inserted a fake vest and blouse.


Before and after remaking.
This over-skirt in the next example looked good on the draping stand, but I was not happy with how it looked in the real World Pictures. Adding red and gold detailing and using with for the "uniform " bodices worked better.
Over-skirt, Before and after.
 This steampunk dress have been blogged quite a lot, as it is this year's Big Project for me. Here, I knew already  before the event that I was not happy with the brown half of the bodice, but convinced myself that it was okay and that I should just get it finished, not be a perfectionist. After the event I liked the dress but still not the brown half, so I decied to spend some hours remaking the dress. I am much happier now. I am also adding and changing the trim on the hat a bit, and have added a small collar to the bolero, as I thought it would be more flattering to my long neck (especially when wearing  a tall hat).  

Steampunk dress and bolero- Before and after


The next dress is not really adapted or added to, but has to do with not being too sentimental about m costumes. It is my first "medieval" dress, and I loved it. In, like 2004. Now I would never wear it since I have become more interested in historical accuracy, but the fabric is a very nice wool. I picked it apart and made a dress from The Tudor Tailor. Which is turn is in the process of being remade again, as the front had a tendncy to buckle in a very non-flattering and uncomfortable way. (An example of lying pictures, as the front looks perfectly smooth in this picture - believe me, this in not how it looked most of the time!).
"Medieval" dress - fabric reused for a Tudor dress.
 
Probably, adapting or changing part of a costume is easier for fashions like women's 1880's dress, which is often heavily decorated and made of separate bodice, skirt and over-skirt, than for a menswear suit, or a more plain gown, but I believe there are often some things that can be changed if you are not happy.
 
This was some example of the costumes I have changed or remade. Have you remade /part of / a costume after wearing it? Did you like the outcome? Please comment and tell!

onsdag 16 augusti 2017

The joy of putting stuff on hats

Hats! I love making hats!

1905 - big!
 But why this sudden declaration of affection, you might wonder? Well, todays theme in Costume Blog Writing Month is small project, and that had me thinking. I very rarely do project that in their entirety are quick and easy enough that I could call them small, but I do make smaller garments as part of the bigger project. Interestingly, it is often those parts I end up liking the most. Liking both as in enjoying making them and as in liking the outcome. And a typical "small part project" for me is a hat. The hats for the historical eras I like are, to put it mildly, heavily decorated, which makes it very fun - I can really be creative with them. And generally I can make or adapt/decorate a hat in 2-5 hours, which I would call quick compared to a 30-40 h dress. So, here they come, a collection of some of my small projects, mostly hats.

Before and after modification...

Look how happy I get in a historical hat! Or is it the knowledge that I will soon be eating ice cream that put that smile on me?

The first hat/headdress I made, for my Tudor dress like ten years ago. The dress is scrapped, but I still like the hat.

1860's - a bit pinker than I generally do.


I didn't hear "over decorated" did I? the 188o's really liked to put stuff on their hats!

This got to have two pictures because it is biggest! :-) Also, it is one of only two hats I have that are actually useful for protecting me from the sun.

Slightly weird Tudor/steampunk hat.

Not a hat, obviously, but decorating it was a small a fun project just like the hats.
The most recent one - steampunk. Currently I am adding more decorations to it - neither my hats nor steampunk aestethics in general are known for "less in more"

Do you like making hats too, or what is your favourite small project?

tisdag 15 augusti 2017

Steampunk dress - finding my way to the "right" design

I have already shown the forrest/mechanical steampunk dress I have been working on for a while. In this post I will show how its design changed with time, and my thought behind the design choices. I will also give some more details on its construction. Lots of text this time, but there will be lots of pictures as well!
 
Summary of this post - the first sketch, and the last (maybe not final) design!
 

This project has taken a lot longer to finish than expected. The main reason was for this was not because it was hard to construct or sew, but that I had a hard time getting the design like I wanted. I had a sketch to start with, but when I started I thought that it was both hard to make, and would not look like I wanted. This means that this gown have been a half year of pinning stuff onto stuff, trying to find out how I wanted it to look. Here I will shown some of the in progress photos I took, so you can se how it evolved.

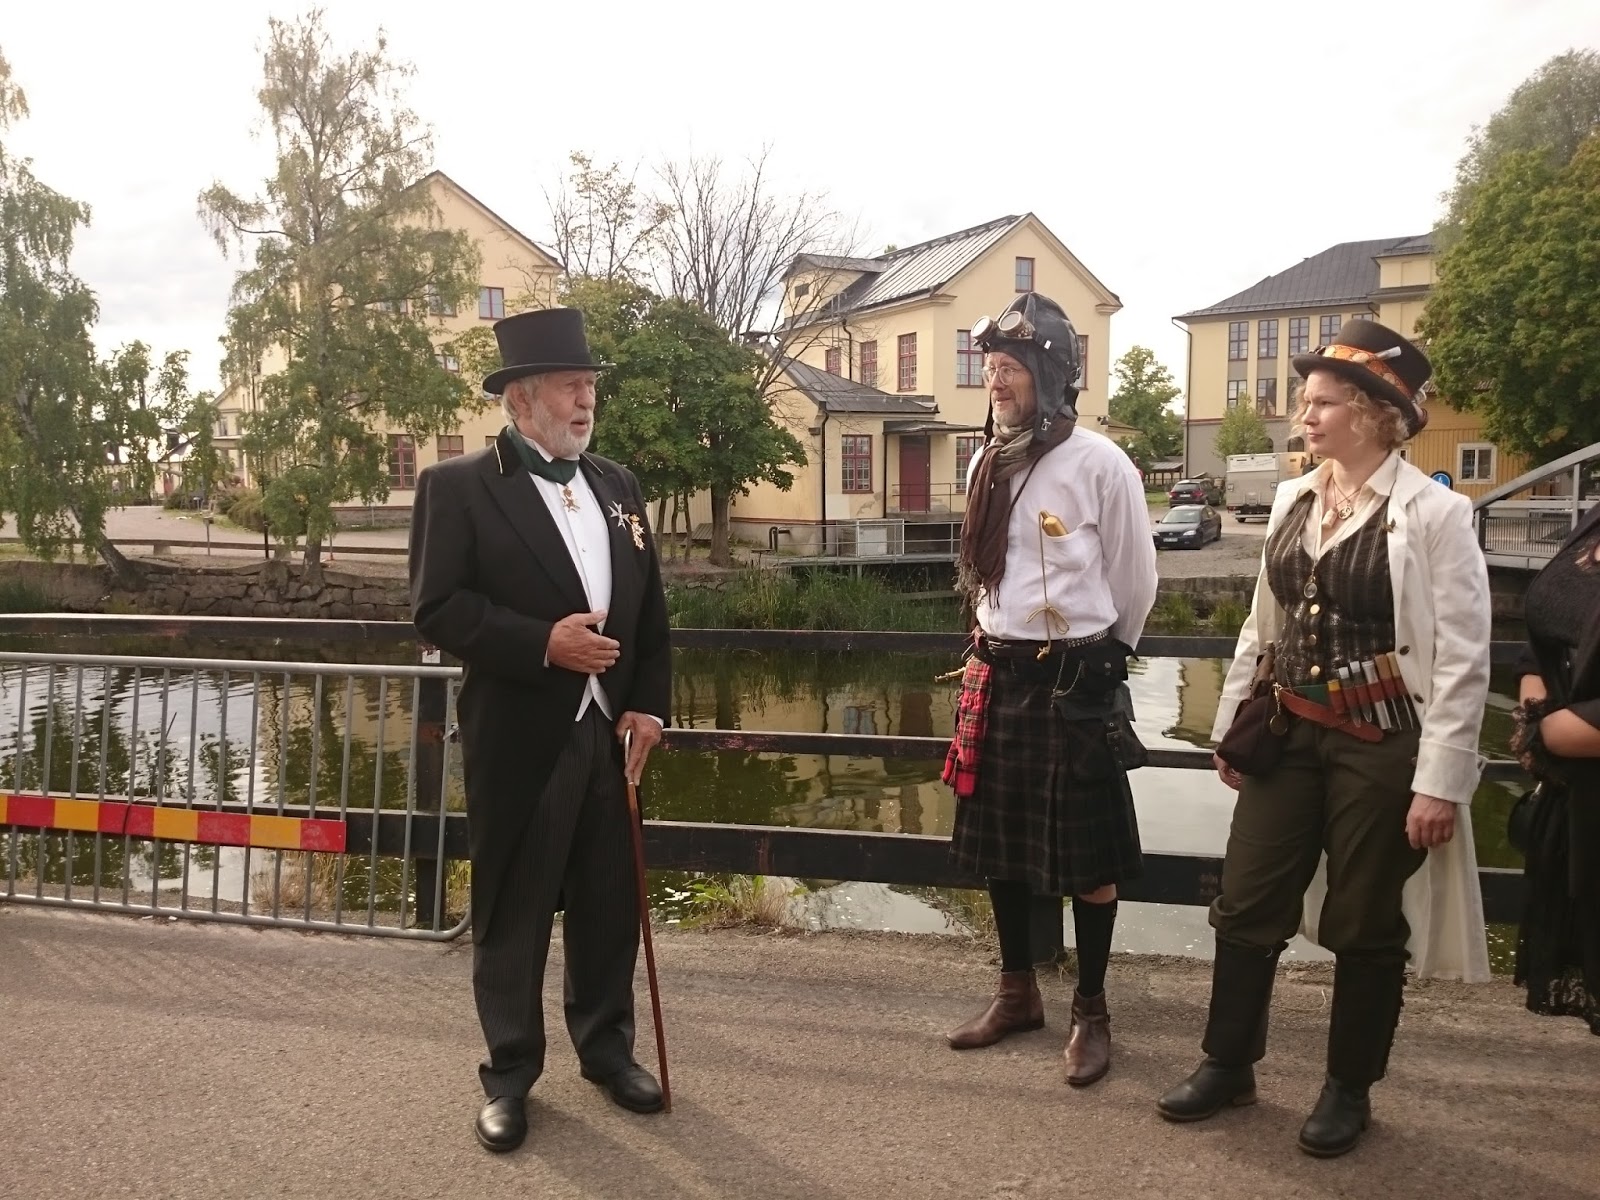
Normally, I want a story or character behind the dress, when doing steampunk, but this time I just went for the visual elements I felt like having. This way of designing meant that I had no problem making for example the staff without having an idea of what the character would use it for. Even then deciding on those took way to many hours stuck in pinterest looking at other people's work. Also, I want every new project to be more spectacular than the last one - as I have relatively few opportunities to wear steampunk, why would I wear anything I like less than the ones I already have? As I like both my uniform and my ghost hunter outfit a lot, this did make it a bit hard to come up with something I was sufficiently enthusiastic about. In the end, I decided that I wanted to combine green with the look of plants with silvery mechanical parts. Also, I wanted a more romantic style than I usually do, and I aimed for the look of lots of details everywhere that I often admire in other people's steampunk work. Actually, I first wanted a green fairy gown, but I decided it would be  much more useful to me if it was steampunk, and I then I liked the idea to "steampunk it" by combining soft green with hard steel. The brown velvet was a later addition.
 
This is the first drawing I made. As you can see, it is a lot of crinoline and a quite small dress. The idea was to make half of it look mechanical like some kind of steampunk robot dress and the other half look plant-like.
I soon realised this would take A LOT of work, in making or sourcing the mechanical parts, so I thought I would just make some mechanical parts show through holes in the green part of the dress.

Then I started making it, and ... it changed. Here is a lot of pictures of how the dress looked like during different stages of experimentation/construction. Cronological order.

First idea: a hole in the upper part of the skirt where the Brown "tree trunk" is visible. Velvet draperies at side and back.
Closer look of the hole. I was very fond of the idea, but did not really like how it looked in reality.
Adding a flounce and leaves.


Trying out a more bustle like draperi at back and sides instead.
Back drapery (that still is there in the finished dress, althou a bit different draped. )
Added two flounces. Removed most of the side draperies, but the hole is still there will a small drapery. Here, trying without the back drapery.


Removed the hole, added "flaps" hanging from the waist on skirt, and horisontal stripes on bodice center front to soften the change from Brown to green.


Same version, from the side.


Trying out different methods of fastening, and colors.
For a while, I wanted a brown drapery on the skirt as well, to make the brown half of the bodice tie in better with the rest of the dress, but the brown fabric is thick and has stretch so it was not suitable for this.

Getting closer... Removed most "flaps" as I thought that they looked too much like something for a little girl dressed up as a flower
te

Finally found another fabric with a color that suited for a third flounce. Changed to leather fastenings on front for more steampunk feeling. As worn on NärCon. With a small Bolero/shrug thing, hat and staff.


The last version, after changing the brown bodice half  to green, and adding more accesories. Some things still just pinned on.

I have had the problem that I wanted to include way too many ideas in the same dress, but finally, I am happy with how it look like.

I do like the outcome, but at some points I was quite tired of this project. As I had trouble finding  a look I liked, I could not spend much time sewing, so the progress was slow. Also I was afraid that I would not be satisfied with the end result, despite all the thinking (luckily I was wrong about that!). From this project, I have learned how much longer it takes when you make things in the wrong order. I have also learned that it became harder for me to design it as I had so few limitiations in the design. I would have thought that that would make it easier, but it did not, not for me, I did not have to think "why would a character wear something like ..., what would a character like ... need?", and I did not need to keep in line with historical fashion either, so it was very hard to choose, and to keep from using too many conflicting design elements at the same time.


Which version did you like best? Have you had a costume project that transformed during the sewing process, or tried to fit way too many ideas into a single garment/costume? Please comment and tell!

The  facts:

What the item is: steampunk dress. A steampunk dress with the base shape based on early 1860's fashion.

Fabric:
 Cotton and polyester fabrics of various qualities.

Pattern:  
For bodice, I used Truly Victorian 1859 Pagoda Bodice, omitted sleeves, and used the alterations for fit I made for my 1861 dress. The skirt is just a pleated rectangle (as typical for the earlier crinoline era dresses), with flounces on (also common in that fashion). It would have been a lot easier to attach the flounces before I pleated and sewed the skirt to the bodice, but at that stage I had not yet decided to use flounces, so that gave me some extra work. The back drapery is also a rectangle. The crinoline is based on my earlier 1860's crinoline, but shorter and with a bit more width at the top.

 Hours to complete: About 40-50 h for the dress.

 First worn: For NärCon two weeks ago, se here.

 Total cost: perhaps 700 kr, about 70 Euro (in fabric, clasps, leather bands, and steel for crinoline). I also paid 240 SEK for a very large box of Clock hands, of which I only used a few for this dress. I also had to make investments in glue, paint, craft foam, and such (for the crinoline decorations), of which I used just a little for this project.